
Interior Painting 101: Transform Your Kansas City Home with Expert Tips
- Angel Sosa
- Mar 1, 2025
- 7 min read

1. Introduction
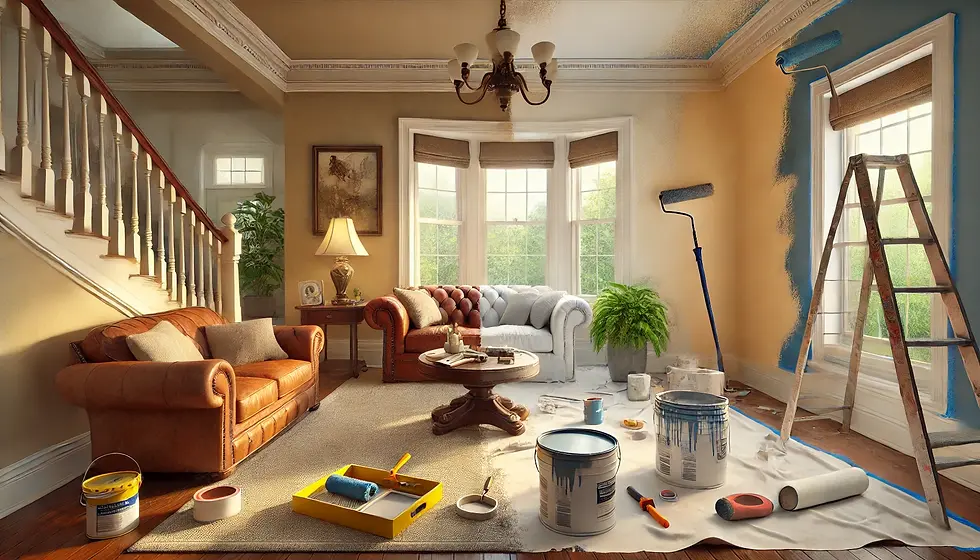
Painting your interiors is one of the most effective ways to revitalize and personalize your home. Whether you live in Kansas City, Lee’s Summit, Overland Park, Gladstone, or North Kansas City, a new coat of paint can dramatically change the atmosphere and aesthetic of any room. Many people wonder how to begin their beginner’s guide to interior painting journey, especially when balancing time, budget, and design preferences.
• A fresh paint job can:
• Instantly brighten dark or dated rooms.
• Increase your property’s appeal and potential value.
• Reflect your personal style and taste.
• Hide minor flaws on walls or ceilings.
Yet, starting from scratch can be daunting. From understanding the difference between primers and topcoats to selecting the best brushes and rollers, there’s a lot to learn. Whether you choose to embark on a DIY adventure or hire professional painters in Kansas City, having foundational knowledge is crucial for achieving top-notch results.
2. Understanding Basic Painting Techniques
Learning the fundamentals of painting techniques is key to a smooth, durable finish. As a beginner’s guide to interior painting suggests, you should become familiar with both brushing and rolling:
1. Brushing
• Ideal for corners, trims, and narrow edges.
• Helps you cut in around ceilings, windows, and door frames.
• Provides precise control in tight or detailed areas.
2. Rolling
• Great for covering large, flat surfaces quickly.
• Choose roller covers with the correct nap (thickness) for your walls.
• Maintain a “wet edge” to prevent visible lap marks.
Additionally, underpainting is a hidden gem in many professional processes. By applying a base coat—often a primer or a neutral tone under bold colors—you ensure vibrancy and minimize the number of coats needed.
Many beginners ask about the correct sequence: Do you paint the ceiling or walls first? It’s generally best to start with the ceiling, move to the walls, and finish with the trim. This top-down approach prevents paint drips from ruining newly painted areas below. If you plan to take on DIY interior painting steps, remember that practice makes perfect. Test out your brushwork and roller techniques on spare pieces of drywall or hidden areas before tackling highly visible rooms.
• Key reminders:
• Always stir your paint thoroughly.
• Pour small amounts of paint into a tray to work effectively.
• Use smooth, controlled strokes.

3. Essential Tools and Prep Work
Preparation is the backbone of any successful interior painting project. Before opening your paint can, dedicate time to collecting the right tools:
• Brushes and Rollers
• High-quality, angled brushes for edges and corners.
• Rollers with various naps for different textures (e.g., smooth vs. textured walls).
• Painter’s Tape
• Crucial for clean lines around baseboards, trims, and ceilings.
• Press firmly along edges to prevent paint bleed.
• Drop Cloths and Protective Gear
• Use canvas or plastic drop cloths to protect floors and furniture.
• Wear old clothes or coveralls, plus gloves for easy clean-up.
• Spackle and Sandpaper
• Repair cracks or holes before painting.
• Smooth surfaces for a flawless finish.
Room preparation is often overlooked but can save you hours of cleanup later. By removing or covering furniture, you ensure complete freedom of movement and reduce the risk of spills on valuable items. Also, thoroughly cleaning your walls—removing dust, dirt, or grease—allows paint to adhere better. If you wonder whether you can paint a standard room in two days, efficient prep work is the key.
• Steps for quick and effective prep:
1. Move furnishings to the center of the room or to another space.
2. Cover everything with plastic sheets or drop cloths.
3. Tape off edges and fixtures like light switches or door knobs.
4. Patch holes, sand rough spots, and wipe down surfaces.

4. Step-by-Step Painting Process
A clear, methodical approach makes interior painting less intimidating. Although every project is unique, the general steps remain consistent:
1. Prime the Surface
• Use a high-quality primer if you’re switching from dark to light colors.
• Underpainting helps achieve even coverage and color accuracy.
2. Cut In the Edges
• Carefully use an angled brush around corners, windows, and ceilings.
• Create a border of about two to three inches.
3. Roll the Main Walls
• Apply paint in a “W” or “M” pattern.
• Overlap slightly to maintain a wet edge.
4. Allow Drying Time
• Follow the manufacturer’s recommended drying period.
• Apply a second coat if necessary.
5. Finish with Trim and Baseboards
• Tackle these last to catch any wall splatters.
• Consider a semi-gloss or gloss finish for easy cleaning.
Working efficiently also means timing each step correctly. If you apply a second coat too soon, you risk smearing partially dried paint and creating uneven areas. Patience is key for:
• Proper Adhesion: Paint that dries thoroughly bonds better.
• Uniform Color: A fully dried first coat shows you where additional coats are needed.
• Reduced Drips: Rushing can result in accidental sags or streaks.
For best results, ventilate the room to speed up drying but avoid blasting cold air directly on the walls. Mild, even airflow is ideal for consistent curing of the paint.

5. Choosing the Right Color and Finish
Color selection can be both exciting and stressful. How a paint color appears can vary due to:
• Lighting Conditions
• Natural light changes throughout the day.
• Artificial light can make hues appear warmer or cooler.
• Room Function
• Kitchens and hallways handle more traffic.
• Bedrooms benefit from soothing or neutral tones.
• Existing Décor
• Consider furniture, flooring, and accent pieces.
• Test paint swatches to see if they complement or clash.
When it comes to finishes, each has its unique advantages:
• Matte or Flat: Hides imperfections but less durable.
• Eggshell or Satin: Subtle sheen, moderately scrubbable.
• Semi-Gloss or Gloss: Easy to clean, highlights texture.
Many homeowners in Lee’s Summit, Overland Park, Gladstone, and North Kansas City opt for versatile neutrals like beige, gray, or white to maintain flexibility in décor. However, a bold accent wall can add character to a living space or bedroom. When choosing bold colors:
• Test a small area first or use large-scale swatches.
• Assess it under daylight and artificial lighting.
• Pair it with simpler, neutral surroundings to avoid a cluttered feel.
Don’t shy away from experimentation. Even if you can’t draw, you can still paint like a pro by focusing on clean lines, proper priming, and a keen eye for detail. If you’re feeling overwhelmed, remember that painting can be done incrementally, room by room, to let you see how each new shade meshes with the rest of your home.

6. Troubleshooting Common Painting Challenges
No matter how prepared you are, unexpected issues can arise:
Roller Marks or Brush Strokes
Often caused by uneven pressure.
• Keep a consistent technique and avoid overloading your brush or roller.
Drips and Runs
Wipe them immediately with a clean brush while the paint is wet.
Sand and repaint if the drip has dried.
Uneven Coverage
• May require additional coats.
• Ensure you’re using the correct primer, especially for dark-to-light transitions.
Another frequent challenge is painting ceilings without leaving patchy or inconsistent sections. A sturdy extension pole reduces strain, while a segmented approach—dividing the ceiling into logical squares—helps maintain an even finish. Also, consider the following:
• Feather Edges: Blend newly painted edges into the surrounding area before they dry.
• Control Pressure: Pressing too hard can flatten the roller or squeeze out excess paint.
• Stay Alert: Quickly address any missed spots while the paint is still wet for easy blending.

7. Professional Tips from HGB Painting
Professionals often emphasize the small details that significantly impact the final outcome. For instance, consistently stirring your paint keeps pigmentation uniform, especially if you’re working over an extended period. “Boxing” paint—mixing multiple cans of the same color in a larger bucket—prevents slight color discrepancies from can to can.
• Feathering Overlaps: Lightly smooth transitions where two areas of paint meet.
• Removing Tape: Pull it off at an angle when the paint is almost dry to avoid lifting any paint.
• Maintaining Tools: Rinse rollers and brushes promptly or wrap them in plastic between coats to keep them fresh.
Once your project is complete, remember to store leftover paint for touch-ups. Label each container with the room name, paint brand, and color formula. Small scratches or chips can occur over time, and having the exact paint on hand simplifies repairs. If you’re balancing a busy schedule, consider hiring professional painters in Kansas City who can often paint a standard room in just two days without compromising quality.
• Touch-Up Kit Essentials:
1. A small sealable jar of leftover paint.
2. A clean brush or roller.
3. Painter’s tape for precise fixes.

8. Conclusion
A successful interior painting project can dramatically transform your home, whether you’re revamping a living room in Overland Park, updating a bedroom in Gladstone, or refreshing a kitchen in North Kansas City. By combining proper techniques with thoughtful color choices and well-executed prep work, you’ll achieve a professional-looking result that you can enjoy for years to come. Painting is a step-by-step process that rewards patience and attention to detail, making it accessible to beginners and seasoned DIY enthusiasts alike.
FAQ
How long should I wait between coats of paint?
Most paints require at least a few hours of drying time, but exact durations vary by brand and humidity levels. Check the label for recommended waiting periods.
What is the benefit of underpainting?
Underpainting ensures a smoother topcoat, especially when transitioning to a brighter or bolder color. It reduces the need for multiple coats by creating a uniform base.
Can I paint a room in just two days?
Yes, with organized prep and efficient techniques, a small to medium-sized room can be painted in around two days, including drying time for each coat.
Should I paint the ceiling or walls first?
Generally, it’s best to paint the ceiling first to prevent drips on newly painted walls. This top-down method is widely recommended by professionals.
How do I maintain a ‘wet edge’ to avoid lap marks?
Work in small sections, overlapping strokes while the paint is still wet. Avoid letting one area dry before moving on to the next.
Does painting trim and baseboards last really matter?
Painting trim last allows you to cover any drips or splatters from the walls. Many people find this sequence more efficient for a clean finish.
Which paint finishes are ideal for high-traffic areas?
Semi-gloss or satin finishes are recommended for hallways and kitchens. They’re easier to clean and more resistant to scuffs than matte or flat finishes.
Can I achieve professional results if I’m new to painting?
Absolutely. Focus on proper prep, use the right tools, and follow each step methodically. As you gain experience, your technique and confidence will naturally improve.
Thank you for exploring this comprehensive beginner’s guide to interior painting. By taking advantage of the techniques and tips shared here, you’ll be well on your way to creating visually stunning and long-lasting interiors. If you ever need professional guidance or wish to save time on your next project, HGB Painting is proud to serve Kansas City, Lee’s Summit, Overland Park, Gladstone, and North Kansas City. Happy painting!


Comments